
Bulk Image to WebP Converter - Convert 25 Images at Once Free
Author
Muhammad Awais
Published
May 26, 2026
Reading Time
8 min read
Views
8.1k
Still Converting Images One by One? There's a Better Way
Picture this: You've just finished a landing page redesign. Twelve product photos, four hero images, eight team headshots all in JPG and PNG. Your PageSpeed Insights report is screaming "Serve images in next-gen formats." And you're sitting there, uploading images to some random converter, waiting, downloading, renaming, uploading the next one.
I've been there. It's the kind of tedious work that eats 40 minutes out of your day and leaves you wondering why you didn't automate this earlier. The good news: you don't need a build script, a sharp CLI tool, or a paid SaaS subscription. A proper bulk image to WebP converter handles all 25 images in one go free, right in your browser.
This guide covers exactly how bulk WebP conversion works, what to look for in a converter, and how to integrate it into your real workflow whether you're a developer, designer, or running an e-commerce site.
What You'll Learn:
✅ How bulk WebP conversion saves hours vs one-at-a-time
✅ Which image formats can be bulk converted to WebP
✅ How to resize images during conversion (no extra tool needed)
✅ How to download all converted images as a single ZIP
✅ The right quality setting for different use cases
✅ Why client-side conversion is safer than uploading to a server
Why Bulk Conversion Matters - The Real Numbers
Google's Core Web Vitals directly impact your search ranking. Largest Contentful Paint (LCP) which measures how fast your main content loads is heavily affected by image sizes. A typical JPG hero image is 400–800KB. The same image as WebP? Usually 150–300KB. That's a 50–60% reduction with zero visible quality difference.
Now multiply that across 20 product images on an e-commerce page. You're potentially cutting 8–10MB of page weight in a single batch conversion session. The kind of improvement that moves LCP from "needs improvement" to "good" and shows up in your rankings within weeks.
The problem most developers face isn't knowing why to convert it's the friction of actually doing it at scale. That's where a proper bulk converter removes the bottleneck entirely.
How to Bulk Convert Images to WebP - Step by Step
Using WebToolsHub's bulk Image to WebP Converter, here's the exact workflow:
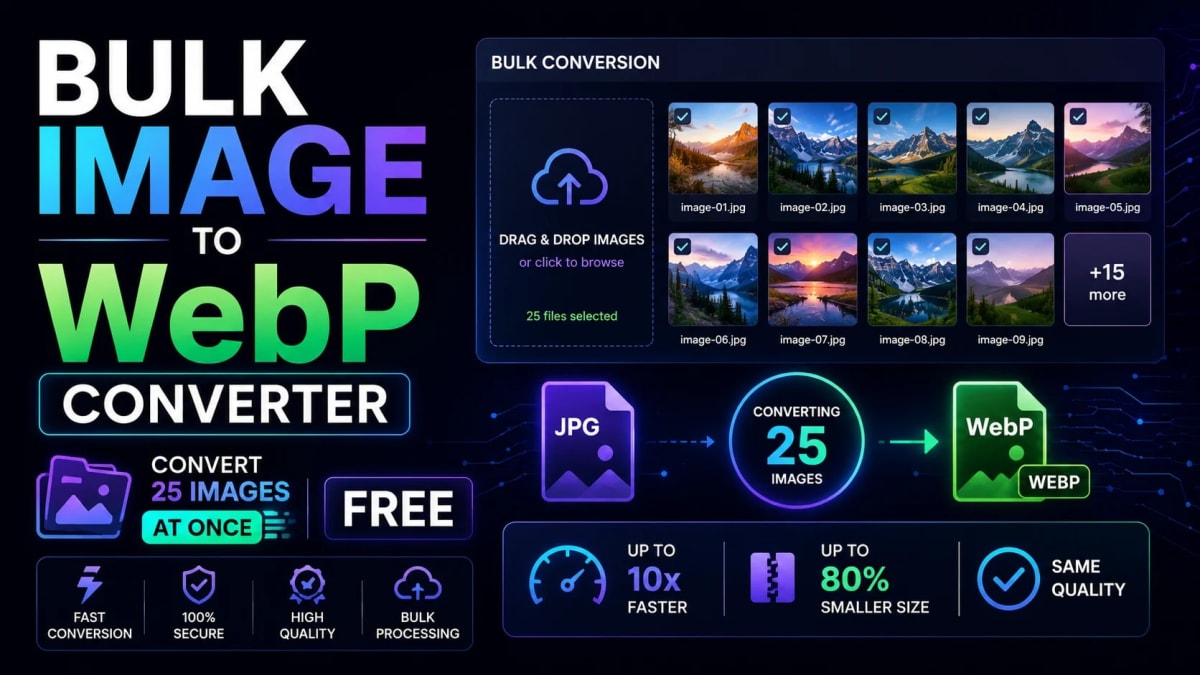
Upload up to 25 images at once. Drag and drop your entire batch onto the upload zone PNG, JPG, GIF, BMP, and TIFF all accepted. You can also click to open a file picker, or paste directly from clipboard with
Ctrl+Vfor screenshots.Set your quality preset. Three presets cover most use cases: Web Fast (75%) for thumbnails and background images, Balanced (85%) for general use, High Quality (95%) for product close-ups or portfolio images. You can also dial in an exact percentage with the slider.
Optional: Set max dimensions. If you need to resize images during conversion say, cap everything at 1200px wide enable the resize option. The tool preserves aspect ratio automatically. No cropping, no stretching.
Click "Convert All" and watch real-time progress. Each image shows its status: Queued → Converting → Done. Savings badges appear as each file completes something like "−68%" in green. The total savings summary updates live at the bottom.
Download individually or as a ZIP. Each converted image has its own download button. Once the full batch is done, "Download All as ZIP" packages everything into a date-branded archive open it, drag the files into your project, done.
The whole process for 20 images takes under two minutes. Compare that to 20 separate upload-convert-download cycles on a single-image tool. Sound familiar? Yeah, I thought so.
Supported Formats - What You Can Bulk Convert
Not all bulk converters handle every format. Here's what the WebToolsHub converter accepts and why each format matters:
PNG (.png): Lossless format great for logos, icons, UI screenshots. Converting to WebP typically cuts 30–50% off the file size while keeping crisp edges and transparency.
JPG / JPEG (.jpg, .jpeg): The most common photo format on the web. WebP at 85% quality is visually identical to JPG at full quality, usually 25–35% smaller. Your product photos and hero images are the highest-ROI candidates for conversion.
GIF (.gif): Static GIFs convert cleanly. The tool extracts the first frame for static WebP output. For animated GIFs, a dedicated animated WebP tool is needed but static GIF conversion is fully supported.
BMP (.bmp): Uncompressed bitmap files are enormous often 3–10x larger than an equivalent JPG. Converting BMP to WebP produces the most dramatic size reduction of any format, sometimes 85–90% smaller.
TIFF / TIF (.tiff, .tif): High-resolution format common in photography and print workflows. The converter handles both MIME-type detection and extension-based fallback for TIFF files important because browser TIFF support varies.
Quality Settings - Which One Should You Use?
This is the question I get most often. The answer depends on what the image is for — but here's how I think about it:
Quality | Best For | Typical Reduction |
|---|---|---|
75% (Web Fast) | Thumbnails, backgrounds, blog images | 65–75% smaller |
85% (Balanced) | General web, hero images, team photos | 55–65% smaller |
95% (High Quality) | Product close-ups, portfolio, medical | 30–45% smaller |
Honestly, 85% is where I land for almost everything. I've done A/B visual comparisons between a JPG at 100% quality and a WebP at 85% most people can't tell the difference. For a deeper breakdown, check out the WebP quality settings guide it covers the exact tradeoffs with real before/after examples.
Resizing During Conversion - The Hidden Time Saver
Here's a workflow problem most developers don't think about until it bites them: your designer exports assets at 3000px wide. Your website needs them at 1200px. Normally that means resize in Photoshop, then convert to WebP. Two steps, two tools.
The bulk converter handles both in one pass. Enable the resize option, set a max width of 1200px, and every image that's larger gets scaled down proportionally before conversion. Images smaller than your limit stay at their original size never upscaled.
No cropping. No stretching. Aspect ratio always preserved. Each row in the conversion table shows original dimensions and resized output so you can verify exactly what happened before downloading.
Why Client-Side Conversion Is Safer Than Uploading to a Server
Most online image converters upload your files to their server, process them, then let you download the results. That works fine for public stock photos it gets uncomfortable when you're dealing with client assets, internal product images, or anything confidential.
The WebToolsHub converter is different: everything runs in your browser using the Canvas API. Your images never leave your device no upload, no server processing, no storage. You can verify this yourself: open Chrome DevTools, go to the Network tab, run a batch conversion, and watch zero outbound requests fire.
This also means no file size limits imposed by server bandwidth, no rate limiting, and no queuing behind other users. The only constraint is your browser's available memory which is why the tool processes images sequentially rather than all at once.
Integrating Bulk WebP Conversion Into Your Workflow
Here's how most teams use this kind of tool effectively:
Pre-deployment asset audit: Before any major release, run all new images through the bulk converter. Drop the ZIP into the project, replace the originals. Takes five minutes, saves megabytes off page weight.
Fixing PageSpeed Insights warnings: When you get "Serve images in next-gen formats" as an opportunity in Lighthouse, identify the flagged images, batch convert them, re-deploy, re-run the audit. LCP improvement is usually immediate.
Next.js projects: The
next/imagecomponent optimizes images at request time, but starting with already-compressed WebP assets means smaller source files and better baseline performance. See the full Next.js image optimization with WebP guide for implementation details.WordPress sites: Export your media library images, batch convert, re-upload. No plugin needed. The WordPress WebP optimization guide walks through the full workflow.
WebP vs Other Formats - Quick Reference
Format | File Size | Browser Support | Best For |
|---|---|---|---|
JPG | Baseline | Universal | Fallback only in 2026 |
PNG | Large | Universal | SVG preferred for icons |
WebP | 25–60% smaller | 95%+ browsers | Default choice 2026 |
AVIF | 30% smaller than WebP | 90%+ browsers | Server-side only |
For a detailed breakdown of the WebP vs AVIF decision, the WebP vs AVIF 2026 comparison covers the real tradeoffs including encoding speed and browser support nuances.
Frequently Asked Questions
How many images can I convert at once?
Up to 25 images per batch, with a 20MB per file limit and a 200MB total batch limit. For larger sets, run multiple batches each takes under two minutes regardless of count. The tool processes images sequentially to keep your browser stable throughout.
Does bulk converting reduce image quality?
Only if you set the quality slider below what the image needs. At 85% (the default), WebP output is visually indistinguishable from the original JPG or PNG for most images. The file size reduction comes from more efficient compression algorithms, not from degrading visual content.
Are my images uploaded to a server?
No. all processing happens entirely in your browser using the Canvas API. Your images never leave your device. Open DevTools Network tab during conversion and you'll see zero outbound requests fire. No account, no storage, no privacy risk.
Can I resize images during bulk conversion?
Yes. Enable the resize option and set a max width and/or height. Images larger than your limit are scaled down proportionally aspect ratio is always preserved, no cropping or stretching occurs. Images smaller than your limit stay at their original size and are never upscaled.
What happens if one image fails to convert?
A "Failed" status appears on that row with a descriptive error message. The rest of the batch continues processing uninterrupted. Each failed file has an individual "Retry" button so you can re-attempt without restarting the entire batch.
Is this tool completely free?
Yes. no account, no signup, no usage limits, no watermarks on output files. WebToolsHub is funded by non-intrusive ads, which keeps all tools permanently free for developers and designers.
Stop Doing It One Image at a Time
The math is simple: 20 images at two minutes each is 40 minutes of repetitive work. The same 20 images in a bulk converter takes under two minutes total. That's 38 minutes back in your day, every time you optimize a batch of images.
For the performance gains smaller pages, better Core Web Vitals, faster load times it's one of the highest-ROI optimizations you can make with zero infrastructure cost.
Try the bulk Image to WebP Converter with your next batch of assets. Drop 25 images in, watch the savings badges light up, download the ZIP. It takes less time to try it than it took to read this sentence.
Tagged in
Continue Reading
All Articles


Level Up Your Workflow
Free tools mentioned in this article
JSON to TypeScript Converter
Convert any JSON object into clean TypeScript interfaces instantly. Supports nested objects, arrays, and optional fields free, no signup, runs entirely in your browser.
SVG Path Builder & Visualizer
An interactive, client-side SVG path builder and visualizer tool. Generate optimized cubic and quadratic Bezier vector code instantly on a grid canvas.
Tailwind SVG Background Pattern Generator
The ultimate visual builder for Dot Grids, Plus Signs, and geometric SVG background patterns. Generate optimized Tailwind CSS classes for your SaaS landing pages.
Fancy Font & Stylish Text Generator
Transform your text into 50+ stylish and aesthetic fonts instantly. Perfect for Instagram bios, TikTok captions, and PUBG nicknames. One-click copy & paste.